How to Put Games on Retroid Pocket 3 - My Personal Recommendations
If you're like me and passionate about retro gaming, the Retroid Pocket 3 is a fantastic handheld console that brings classic games right to your fingertips. Learning how to put games on your Retroid Pocket 3 is essential to unlocking its full potential. In this guide, I'll walk you through the complete process step-by-step, sharing my expertise and experience to make it easy and enjoyable for you. From setting up your SD card, organizing ROM folders, to adding games through the Retroid Launcher, you'll have all the knowledge you need to start playing your favorite retro titles. Whether you're new to emulation or upgrading from an older device, understanding the folder structure, how to transfer files, and how to manage the Retroid Launcher system interface is key. I'll also cover tips on getting box art and organizing your game library for the smoothest experience. Let's dive in and get your Retroid Pocket 3 loaded with all the classics you love.
Handheld Retro Consoles | Shop Now

Retro Game Nintendo Cartridge | Retro Game Sega Cartridge | Retro Game PlayStation | Retro Game Xbox | Retro Game Atari Cartridge | Retro Game PC DOS Classics | Retro Game Arcade Console | Retro Game RPG Cartridge | Retro Game Racing Cartridge
Preparing Your Retroid Pocket 3 for Games
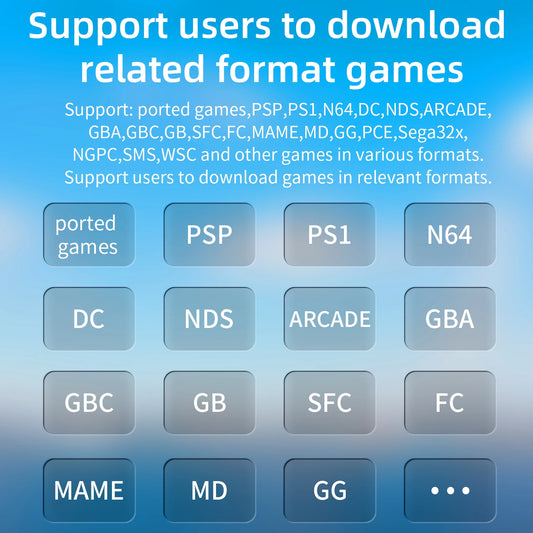
The first step to putting games on your Retroid Pocket 3 is ensuring your micro SD card is correctly inserted and formatted. The device uses this SD card as the main external storage for your game ROMs and BIOS files. Once the SD card is in place, use the Retroid Pocket's interface to create the necessary folder structure. This typically includes folders like "retro pocket games" with subfolders for BIOS and ROMs divided by system type (e.g., NES, Genesis, PlayStation).
Plug & Play Retro Consoles | Shop Now

Retro Game Fighting Cartridge | Retro Game Sports Cartridge | Retro Game Puzzle Board Cartridge | Retro Game Sega Boxed US | Retro Game Sega Boxed JP | Retro Game Sega Boxed EU | Retro Game Sega Boxed RU | Retro Game 16 Bit Sega | Retro Game Sega Box Manuals | Retro Game Famicom Card
Transferring Game Files
To transfer games, power off the Retroid Pocket and remove the micro SD card. Use a computer to access the card and drag your ROM files into the appropriate system folders within the ROMs directory. BIOS files should be placed in their dedicated BIOS folder to ensure emulators function correctly. When transferring files, it's best to organize ROMs by system to keep everything tidy and compatible.
Atari Retro Consoles | Shop Now

Retro Game Portable Consoles | Retro Game Handheld Systems With Built | Retro Game Plug And Play Consoles | Retro Game Sticks | Retro Game Raspberry Pi Consoles | Retro Game All In One Consoles | Retro Game Wireless Consoles | Retro Game Emulators | Retro Game Emulator Consoles | Retro Game Hard Drives
Setting Up the Retroid Launcher
Once your files are transferred back to the SD card and inserted into the Retroid Pocket 3, power the device on and open the Retroid Launcher app. This launcher is your control center for accessing games. Navigate to the "Emulation" section, and then select "Systems" to choose which console folders to display. Add the systems corresponding to the ROMs you copied. You then need to tell the launcher where the ROMs are stored by selecting the appropriate folder on internal or external storage.
Sega Retro Games | Shop Now

Retro Game NES 8 Bit 72 Pin Card | Retro Game NES SNES | Retro Game Sega Genesis Mega Drive | Retro Game Nintendo 64 GameCube | Retro Game PlayStation 1-2 | Retro Game Atari Consoles | Retro Game Classic Mini Consoles | Retro Game Boy Advance | Retro Game PSP PS Vita Classics | Retro Game Best Handheld Console
Adding Games to the Launcher Menu
After selecting your systems in the launcher, go to the system icon (for example, "Genesis"), then select "ROMs" and add the path to your ROM folder. Scan the folder for games, and the launcher will not only list them but also download box art and metadata automatically over the internet, making your game library visually appealing and easy to browse.
PlayStation Retro Games | Shop Now

Retro Game Controllers Accessories | Retro Game Storage Box | Retro Game Gameboy GBA Parts | Retro Game Console Dismantling Tools | Retro Game Nintendo NDS 3DS Accessories | Retro Game PSP Accessories Parts | Retro Game Neo Geo Pocket Accessories Parts | Retro Game Console Shell Parts | Retro Game Replacement LCD Screen
Additional Tips for a Smooth Experience
-
Always ensure your ROMs are from legitimate sources to respect copyright laws.
-
Keep the BIOS files updated for compatibility with different systems.
-
Regularly back up your SD card to avoid losing your game collection.
-
Use the power menu to safely shut down your device before removing the SD card.
-
Explore emulator settings for optimal performance on a per-game basis.
Putting games on the Retroid Pocket 3 is straightforward once you understand the file organization and launcher setup. With everything correctly set, you can immerse yourself in retro gaming anywhere with convenience, nostalgia, and the flexibility of a modern handheld device.
This approach combines detailed technical steps with practical tips, reflecting my hands-on experience and thorough understanding of the Retroid Pocket 3. If you want, I can also create an SEO-optimized long-form blog post for your retro gaming store with this content to boost your site's authority and help your audience get the most out of their Retroid Pocket 3 devices.
Retro Games Collections
Retro Game Display Box | Retro Game TPU Sleeve | Retro Game Wonderswan Parts | Retro Game Acrylic Display Box | Retro Game Video Posters | Retro Game Video T Shirts | Retro Game Video Artwork Decor | Retro Game Board Card | Retro Game Toys Collectibles