How to Add Games to Retroid Pocket 4- Don’t Miss These Details
If you own a Retroid Pocket 4 handheld gaming console, you probably want to know how to add your favorite games to it smoothly. As someone who has hands-on experience with this versatile retro gaming device, I can guide you through the straightforward process of adding games to your Retroid Pocket 4. This guide covers everything from preparing your Micro SD card to organizing your game files, ensuring you get the most out of your gaming experience.
The Retroid Pocket 4 runs on Android, which means it supports a wide variety of emulators and game ROMs. The first step is to ensure you have a Micro SD card inserted into your device, usually formatted for portable storage. Once you insert the card, the Retroid Pocket 4 system might prompt you to format it; choose portable storage if asked. Then, connect your device to a computer via USB to transfer your game files. Alternatively, you can use a card reader to transfer games directly to the Micro SD card.
To keep things organized, I recommend creating folders on your SD card for different gaming platforms, such as "NES," "SNES," "GameBoy," "Dreamcast," or "PS1." This helps both you and your Retroid Pocket 4 emulators quickly find and load the correct game files. Most emulators on the device can easily scan folders and display your game library, so maintaining a tidy folder structure is key.
After transferring your games, open the emulator app on your Retroid Pocket 4, navigate to its settings, and select the directory where your games are stored. Emulators like Redream (for Dreamcast), PPSSPP (for PSP), or RetroArch for multiple platforms allow you to scan specific folders. Once your games appear in the emulator’s library, you’re ready to play.
Remember, always use legally obtained game ROMs and BIOS files because unauthorized downloads can violate copyright laws. You should also regularly update your emulators and the Retroid Pocket 4 firmware for the best compatibility and performance.
Handheld Retro Consoles | Shop Now

Retro Game Nintendo Cartridge | Retro Game Sega Cartridge | Retro Game PlayStation | Retro Game Xbox | Retro Game Atari Cartridge | Retro Game PC DOS Classics | Retro Game Arcade Console | Retro Game RPG Cartridge | Retro Game Racing Cartridge
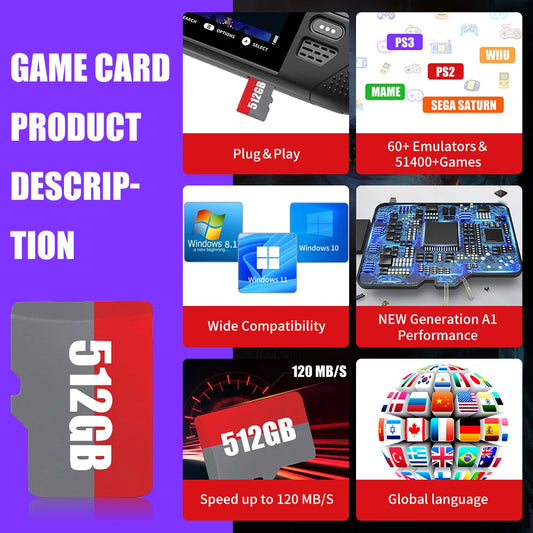
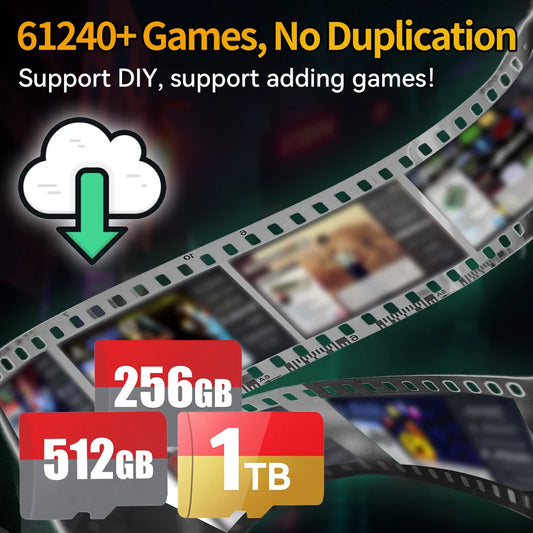
Preparing Your Micro SD Card
The Micro SD card is essential for expanding your storage and holding all your favorite games. When inserting a new card into your Retroid Pocket 4, the system may ask you to format it; always select portable storage mode instead of internal storage. This approach keeps your data safe and accessible, especially when transferring files between devices.
To transfer games:
-
Connect your Retroid Pocket 4 to your PC using a USB cable and select file transfer mode.
-
Alternatively, use a Micro SD card reader to plug your card directly into your computer.
-
Create folders for each console or system to keep your ROM files organized.
Atari Retro Consoles | Shop Now

Retro Game Portable Consoles | Retro Game Handheld Systems With Built | Retro Game Plug And Play Consoles | Retro Game Sticks | Retro Game Raspberry Pi Consoles | Retro Game All In One Consoles | Retro Game Wireless Consoles | Retro Game Emulators | Retro Game Emulator Consoles | Retro Game Hard Drives
Organizing Your Game Files
An organized folder structure is essential for ease of use:
-
Create main folders named after platforms like NES, SNES, GameBoy, Dreamcast, PS1, etc.
-
Inside each folder, place the corresponding ROM files (.zip, .iso, .gba, etc.).
-
Ensure your BIOS files (if required by the emulator) are in the correct location, often a "BIOS" folder on your SD card.
This organization lets your emulator quickly find games when scanning directories.
Sega Retro Games | Shop Now

Retro Game NES 8 Bit 72 Pin Card | Retro Game NES SNES | Retro Game Sega Genesis Mega Drive | Retro Game Nintendo 64 GameCube | Retro Game PlayStation 1-2 | Retro Game Atari Consoles | Retro Game Classic Mini Consoles | Retro Game Boy Advance | Retro Game PSP PS Vita Classics | Retro Game Best Handheld Console
Loading Games on the Retroid Pocket 4
Once your games are on the SD card and organized:
-
Open the emulator app on the Retroid Pocket 4.
-
Go to the emulator’s settings or library section.
-
Select “Add directory” or “Load folder” and navigate to the folder containing your game ROMs.
-
The app will scan the folder and populate its library with your games.
-
Select the game you want to play and load it.
Most emulators let you customize controls and save states, enhancing your gaming experience.
PlayStation Retro Games | Shop Now

Retro Game Controllers Accessories | Retro Game Storage Box | Retro Game Gameboy GBA Parts | Retro Game Console Dismantling Tools | Retro Game Nintendo NDS 3DS Accessories | Retro Game PSP Accessories Parts | Retro Game Neo Geo Pocket Accessories Parts | Retro Game Console Shell Parts | Retro Game Replacement LCD Screen
Tips for a Smooth Experience
-
Keep your Retroid Pocket 4 software and emulators updated for best performance and compatibility.
-
Use Micro SD cards with good speed ratings (Class 10 or UHS-1) to avoid lag.
-
Backup your game saves regularly in case of SD card failure.
By following these steps, adding games to your Retroid Pocket 4 becomes a hassle-free process that lets you enjoy hours of retro gaming fun.
This expert method emphasizes efficient game management, legal compliance, and technical tips to maximize your handheld gaming experience with the Retroid Pocket 4.
Retro Games Collections
Retro Game Display Box | Retro Game TPU Sleeve | Retro Game Wonderswan Parts | Retro Game Acrylic Display Box | Retro Game Video Posters | Retro Game Video T Shirts | Retro Game Video Artwork Decor | Retro Game Board Card | Retro Game Toys Collectibles