How to Set Up Retro Game Stick - Worth Knowing Before You Buy
Setting up a retro game stick offers an exciting blend of nostalgia and modern convenience, bringing classic gaming right to your fingertips. Whether you’re a longtime enthusiast or just diving into vintage games, having the right arcade joystick fully configured can massively enhance your experience. In this guide, I’ll walk you through everything you need to know to get your retro game stick up and running smoothly. From hardware setup and connecting to PCs or consoles to customizing your controls and troubleshooting common issues, this article is packed with practical tips.
Choosing the right retro joystick and correctly setting it up isn’t just about plugging in a controller; it involves understanding compatibility, optimizing response times, and sometimes installing drivers or software to customize buttons. I have spent years working with various retro gaming gear and configuring setups for friends and clients alike. My goal here is to help you avoid common pitfalls and get straight to the fun part: playing your favorite classic games with that authentic arcade feel.
Whether you’ve purchased a USB arcade stick, a Bluetooth-compatible model, or a DIY kit, this step-by-step guide will walk you through each stage of the process. You’ll also learn about useful software tools for remapping buttons and enhancing gameplay. Ready to transform your gaming experience? Let’s start with the essentials of unboxing and getting your retro game stick connected.
Handheld Retro Consoles | Shop Now

Retro Game Nintendo Cartridge | Retro Game Sega Cartridge | Retro Game PlayStation | Retro Game Xbox | Retro Game Atari Cartridge | Retro Game PC DOS Classics | Retro Game Arcade Console | Retro Game RPG Cartridge | Retro Game Racing Cartridge
Unboxing and Initial Inspection
Before diving into connections, ensure your retro game stick is in good shape. Check for:
-
Physical damage
-
Loose wiring
-
Included accessories like USB cables or adapters
-
Instruction manuals or quick-start guides
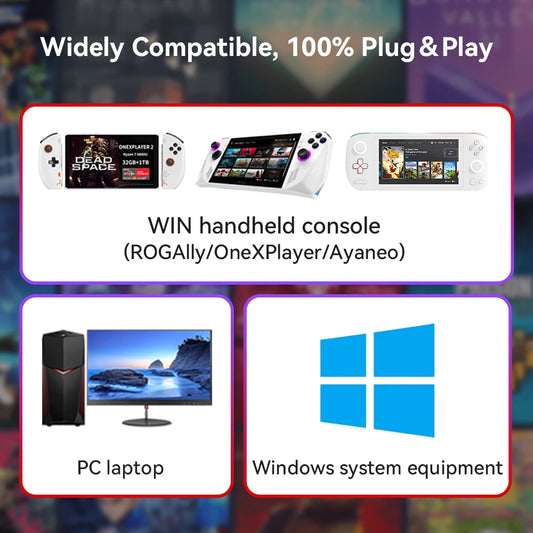
Confirm the stick supports your gaming platform(s) — Windows PC, Mac, Raspberry Pi, or consoles like PS4/PS5 or Xbox. Many sticks are plug-and-play on PC but may require drivers or adapters on consoles.
Atari Retro Consoles | Shop Now

Retro Game Portable Consoles | Retro Game Handheld Systems With Built | Retro Game Plug And Play Consoles | Retro Game Sticks | Retro Game Raspberry Pi Consoles | Retro Game All In One Consoles | Retro Game Wireless Consoles | Retro Game Emulators | Retro Game Emulator Consoles | Retro Game Hard Drives
Connecting Your Retro Game Stick to Devices
USB Plug-and-Play Setup
Most modern retro sticks use USB connectivity. Plugging into your PC is usually straightforward:
-
Insert the USB cable into a free port.
-
Wait for the system to recognize the device.
-
Your PC should automatically install generic drivers.
-
Test the joystick in Windows “Devices and Printers” or your emulator of choice.
Console Compatibility
For use on consoles, confirm your stick is officially supported or works with adapters. For example:
-
Xbox often requires licensed arcade sticks.
-
PlayStation supports many USB sticks but may need special drivers or firmware updates.
-
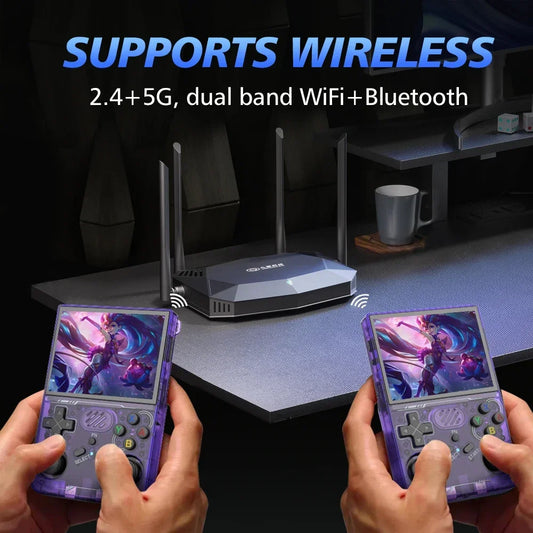
Some sticks support Bluetooth pairing for wireless play.
Sega Retro Games | Shop Now

Retro Game NES 8 Bit 72 Pin Card | Retro Game NES SNES | Retro Game Sega Genesis Mega Drive | Retro Game Nintendo 64 GameCube | Retro Game PlayStation 1-2 | Retro Game Atari Consoles | Retro Game Classic Mini Consoles | Retro Game Boy Advance | Retro Game PSP PS Vita Classics | Retro Game Best Handheld Console
Calibrating and Customizing Controls
Windows Calibration Tool
For the most precise control, calibrate your stick:
-
Open Control Panel > Devices and Printers
-
Right-click your joystick and select Game controller settings
-
Choose Properties > Settings > Calibrate
-
Follow the wizard to ensure accurate axis detection and button mapping
Using Emulator Input Settings
Most emulators like RetroArch, MAME, or Dolphin allow you to remap buttons manually:
-
Open input or controller settings
-
Assign buttons based on your arcade stick layout
-
Save the configuration profile to avoid redoing it each time
Advanced users may leverage software such as JoyToKey or Xpadder to further customize inputs or create macros.
PlayStation Retro Games | Shop Now

Retro Game Controllers Accessories | Retro Game Storage Box | Retro Game Gameboy GBA Parts | Retro Game Console Dismantling Tools | Retro Game Nintendo NDS 3DS Accessories | Retro Game PSP Accessories Parts | Retro Game Neo Geo Pocket Accessories Parts | Retro Game Console Shell Parts | Retro Game Replacement LCD Screen
Troubleshooting Common Issues
Stick Not Recognized
-
Try a different USB port, preferably USB 2.0 instead of USB 3.0.
-
Update or reinstall joystick drivers.
-
Verify cable integrity or try a different cable.
Input Lag or Delays
-
Disable “USB selective suspend” in Windows power settings.
-
Use wired connections over Bluetooth for lower latency.
-
Close background programs competing for USB bandwidth.
Button Sticking or Unresponsive
-
Physically clean the stick and buttons.
-
Check for firmware updates from the manufacturer.
-
Test the joystick on another device to isolate hardware faults.
Tips to Enhance Your Retro Gaming Setup
-
Pair your retro game stick with authentic arcade-themed arcade cabinets or custom cases.
-
Add LED lighting for style and better visibility in low light.
-
Use high-quality USB extension cords for flexible placement.
-
Explore alternative joystick types, such as Sanwa or Seimitsu parts, for a premium arcade feel.
Setting up a retro game stick is truly rewarding. Once you experience the tactile satisfaction of a joystick and button layout optimized for classic titles, it transforms your gaming moments. Follow these steps, and you’ll be playing iconic games just as they were meant to be enjoyed — authentic, responsive, and fun. If you want guidance on the best sticks or setups tailored to your preferences, feel free to ask!
Retro Games Collections
Retro Game Display Box | Retro Game TPU Sleeve | Retro Game Wonderswan Parts | Retro Game Acrylic Display Box | Retro Game Video Posters | Retro Game Video T Shirts | Retro Game Video Artwork Decor | Retro Game Board Card | Retro Game Toys Collectibles